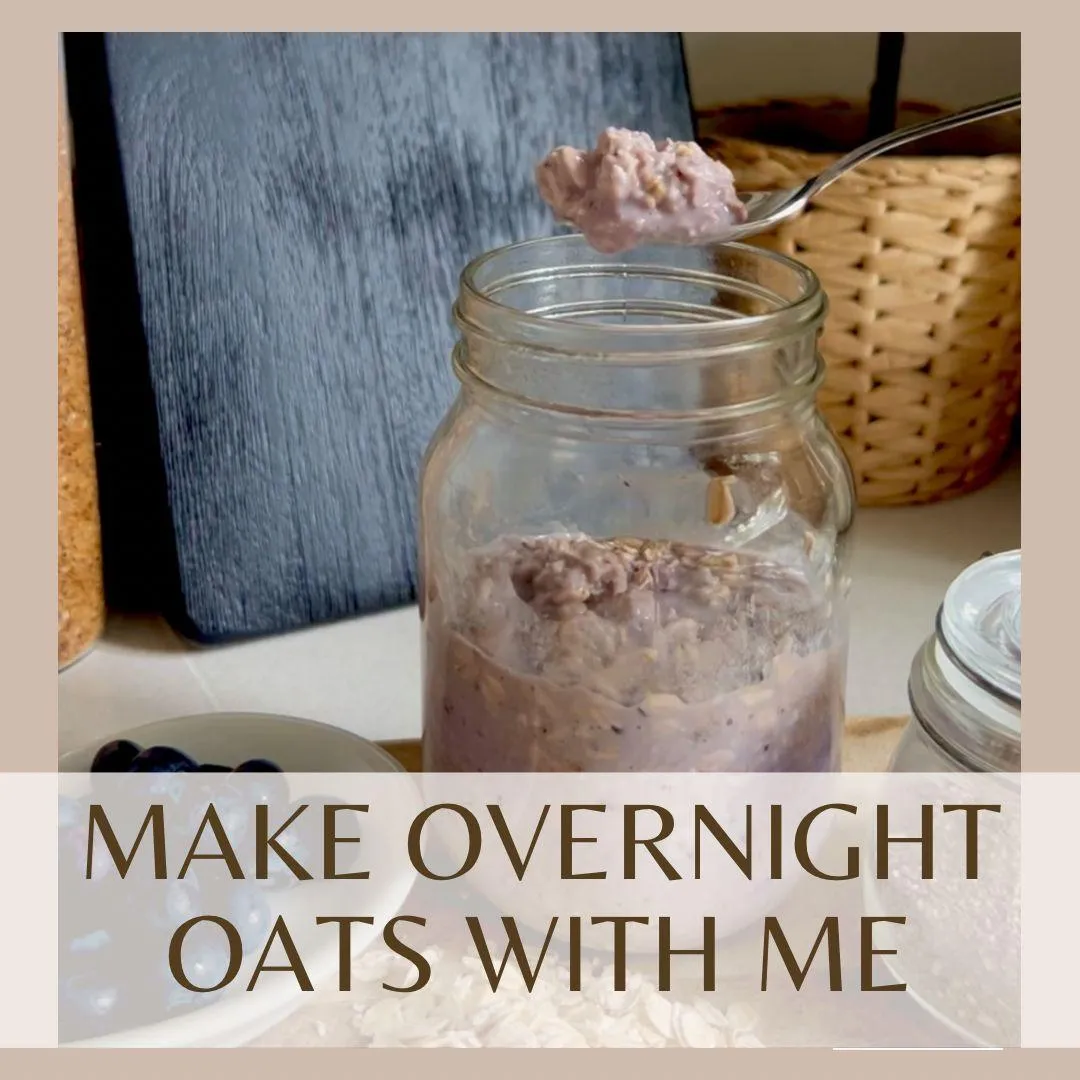
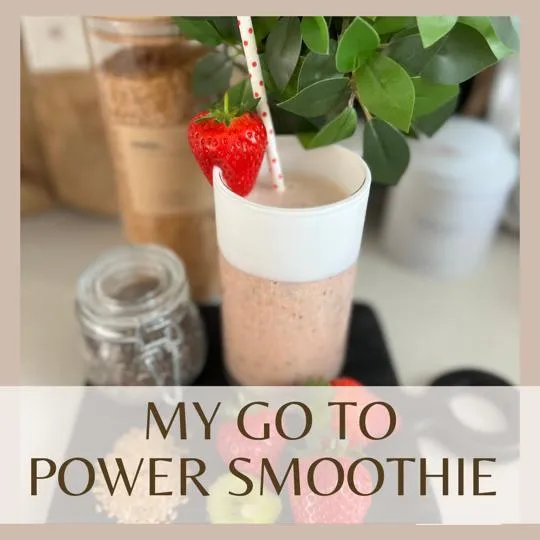
Welcome...
Grab a cuppa and browse the library
Welcome...
Grab a cuppa and browse the library
Knowledge is Power
DIVE IN TO MY LIBRARY TO SEE HOW UNDERSTANDING MORE ABOUT FOOD & YOUR BODY, CREATES SHIFTS IN HABITS AND MINDSET

Hello Homemade Sourdough
What is all the fuss with sourdough and why is it more expensive than other bread?
Well, first up it requires a 'starter' also known as a scoby, which is a labour of love that takes 6 days to create. Its the starter that gives that signature sour tang.
Secondly, it's packed with healthy bacterial goodness to help your gut thrive, rather than the ultra processed additives in most shop bought bread.
Once we have a starter its time to make a Levain, prove and bake. (You can buy a starter kit, or follow my 5 Easy Steps to making a starter here)
It's important to allow an afternoon for Steps 1 - 5
Step 1 - Making The Levain
Ingredients
40g starter (scoby)
15g strong white bread flour
15g strong wholegrain (rye/millet etc)
30ml warm water
Mix the starter, flour and water together by hand. Once combined, leave at room temperature, covered with a clean tea towel. Do this the night before you want to make your bread, so that in the morning the levain is beautifully frothy. At this point it’s well worth feeding your remaining starter ready for future loaves.
Step 2 - Start Making The Bread Mix
100g levain (recipe above)
380ml water, warm to the touch
400g strong white bread flour
100g wholewheat spelt flour
12g fine sea salt
A handful of polenta / semolina (for step 9)
Start by putting the levain into a large mixing bowl and then pour in the warm water. Mix well with open fingers to distribute the levain, then add the flours and mix really well with your hands. Even professional bakers touch, stretch and feel the dough.
Step 3 - Rest (autolyse)
Leave the dough to rest for between 20 minutes and 1 hour, covering the bowl with a clean tea towel. This stage is called the autolyse - Greek for ‘self-digestion’. This is why sourdough doesn’t have to be kneaded, as the gluten structure forms itself here, doing all of the hard work. Resting for the full hour is best, but even a 15-minute rest will make a difference if you don't have much time.
Step 4 - Salt
Tip in the salt (adding it after the autolyse ensures the dough develops better elasticity) and, with wet hands, mix the dough really well. Breaking the gluten bonds now will allow them to reform even stronger.
Step 5 - Bulk Fermentation (3-4 hours)
Leave the dough covered with the tea towel and, every 45 minutes, ‘stretch and fold’ the dough. Wet your hands, take one side of the dough, stretch it up (being careful not to tear the dough) and fold it over on top of itself.
Turn the bowl 90 degrees and repeat, doing this six to eight times. The dough will ‘tighten’ and become less slack. Repeat this every 45 minutes for 3-4 hours (so 4-5 times in total).
Every time the dough is turned it should have more air bubbles and feel light and airy.
Step 6 - Bench Rest
This is when the dough can be encouraged into a regular shape, creating tension so that it has the strength to stay ‘bread shaped’ when baked, as opposed to flattening into a pancake.
Flour a clean work surface and tip out the dough.
Using a dough scraper or your hands, fold the dough up and over on itself, similar to the stretch and fold method but just folding this time.
Do this 4-6 times, and again the dough will tighten and hold its shape better. Add more flour to the work surface if the bread is sticking.
The dough should be relatively round now, so leave it to rest for 10-15 minutes – expect it to flatten a little.
Step 7 - Proving (overnight)
Start by flouring a banneton, proving basket, or mixing bowl and pop the dough into it and leave in the fridge overnight.
This increases flavour, as the acid production is still happening but with little gas production, meaning a more stable loaf.
The cold also helps the loaf to maintain it's shape, giving a head start for a beautiful plump loaf once baked.
Step 8 - Fold 'n' Chill
Flour the top of the loaf, then flip it out upside-down onto a work surface. Lightly shape the loaf into a rough rectangle and fold the edge furthest from you up and over the middle.
Do the same with the left-hand edge, the right-hand edge and the edge nearest to you. Work quite quickly to keep the shape of the loaf.
Lift up and put straight back into the bowl, folds up, and pop into the fridge to chill again. If you’re short on time, just 1 hour will help the dough keep its shape better.
Step 9 - Score & Bake!!
Set your oven to 260° / Fan 240° / Gas 9
Remove the loaf from the fridge and scatter semolina (polenta) on top of the loaf and all over the chopping board.
Turn the loaf out onto the chopping board (it may take a little coaxing) and score the top with a half moon, cross, or sprig of wheat pattern, noting these scores will 'split' as the bread bakes.
Slide the loaf onto a baking tray and pop in the oven for 20 minutes.
Reduce your oven to 220° / Fan 200° / Gas 7
After 20 minutes, reduce the heat and continue baking for a further 30 minutes.
The bread should start to rise in the last 20 minutes, so don't panic! Remove and pop a skewer (or knife) into the centre of the loaf - if it comes out clean your loaf is ready.
If it has some mixture residue, return to the oven, checking again at 5 minute intervals.
Then remove, turn the loaf over and tap the bottom, you should have a hollow sound. If its more of a thud, then more baking time is required.
Once baked, transfer to a wire rack to cool. Then slice, add butter and enjoy!
Tag me with your bake @whatpollydidnext

© 2025 All Rights Reserved
Legal Information
Medical Disclaimer
Please note, we are not medically trained and information within this website is not to replace the medical advice of your GP or medical practitioner.
If you are taking medication or under medical supervision, please consult your health practitioner before making changes to your diet or taking any food supplement.
About This Site
This individual website belongs to Polly Gibbs who is independently responsible for the fulfilment of any orders placed.
To contact Polly please complete the form on the Contact page.
Trademarks and Copyright
Unless otherwise stated all trademarks, registered trademarks and product brand names are the property of Polly Gibbs.
Legal Statements
Please consider the following statement regarding weight loss used on the site.
THRIVE! programmes are effective when used in conjunction with a healthy lifestyle. Note that weight loss will depend on your personal metabolism. Outcomes are based upon, amongst other things: a balanced healthy diet, regular exercise, an adequate daily fluid intake, appropriate supplementation, reduced stress and sufficient rest. The information and programmes on this site are not designed to diagnose or treat any medical condition. The weight loss testimonials presented are applicable to the individuals depicted and are not a guarantee of your weight loss, nor are they necessarily typical.
Please note, we are not medically trained and this information is not to replace the medical advice of your GP or medical practitioner. If you are pregnant, taking medication or under medical supervision, please consult your health practitioner before making changes to your diet or taking any food supplement.
The contents of this website are for educational purposes and are not intended to offer personal medical advice. You should seek the advice of your GP, physician, or other qualified health provider ,with any questions you may have regarding a medical condition. Never disregard professional medical advice or delay in seeking it because of something you have read on this website. Any products suggested or referenced are based on personal use.


